Eng_Lab 03 - 2D SLAM and AMCL
Lab. 03 - 2D SLAM and AMCL

1. What are SLAM and AMCL?
SLAM, or Simultaneous Localization And Mapping, is the problem of continuously building and updating a map of an unknown environment while at the same time estimating the pose of an agent (e.g. a robot) in it.

AMCL, or Adaptive Monte Carlo Localization, is a probabilistic localization system that uses a particle filter to track the agent’s pose on a known map.
2. Goal of the class
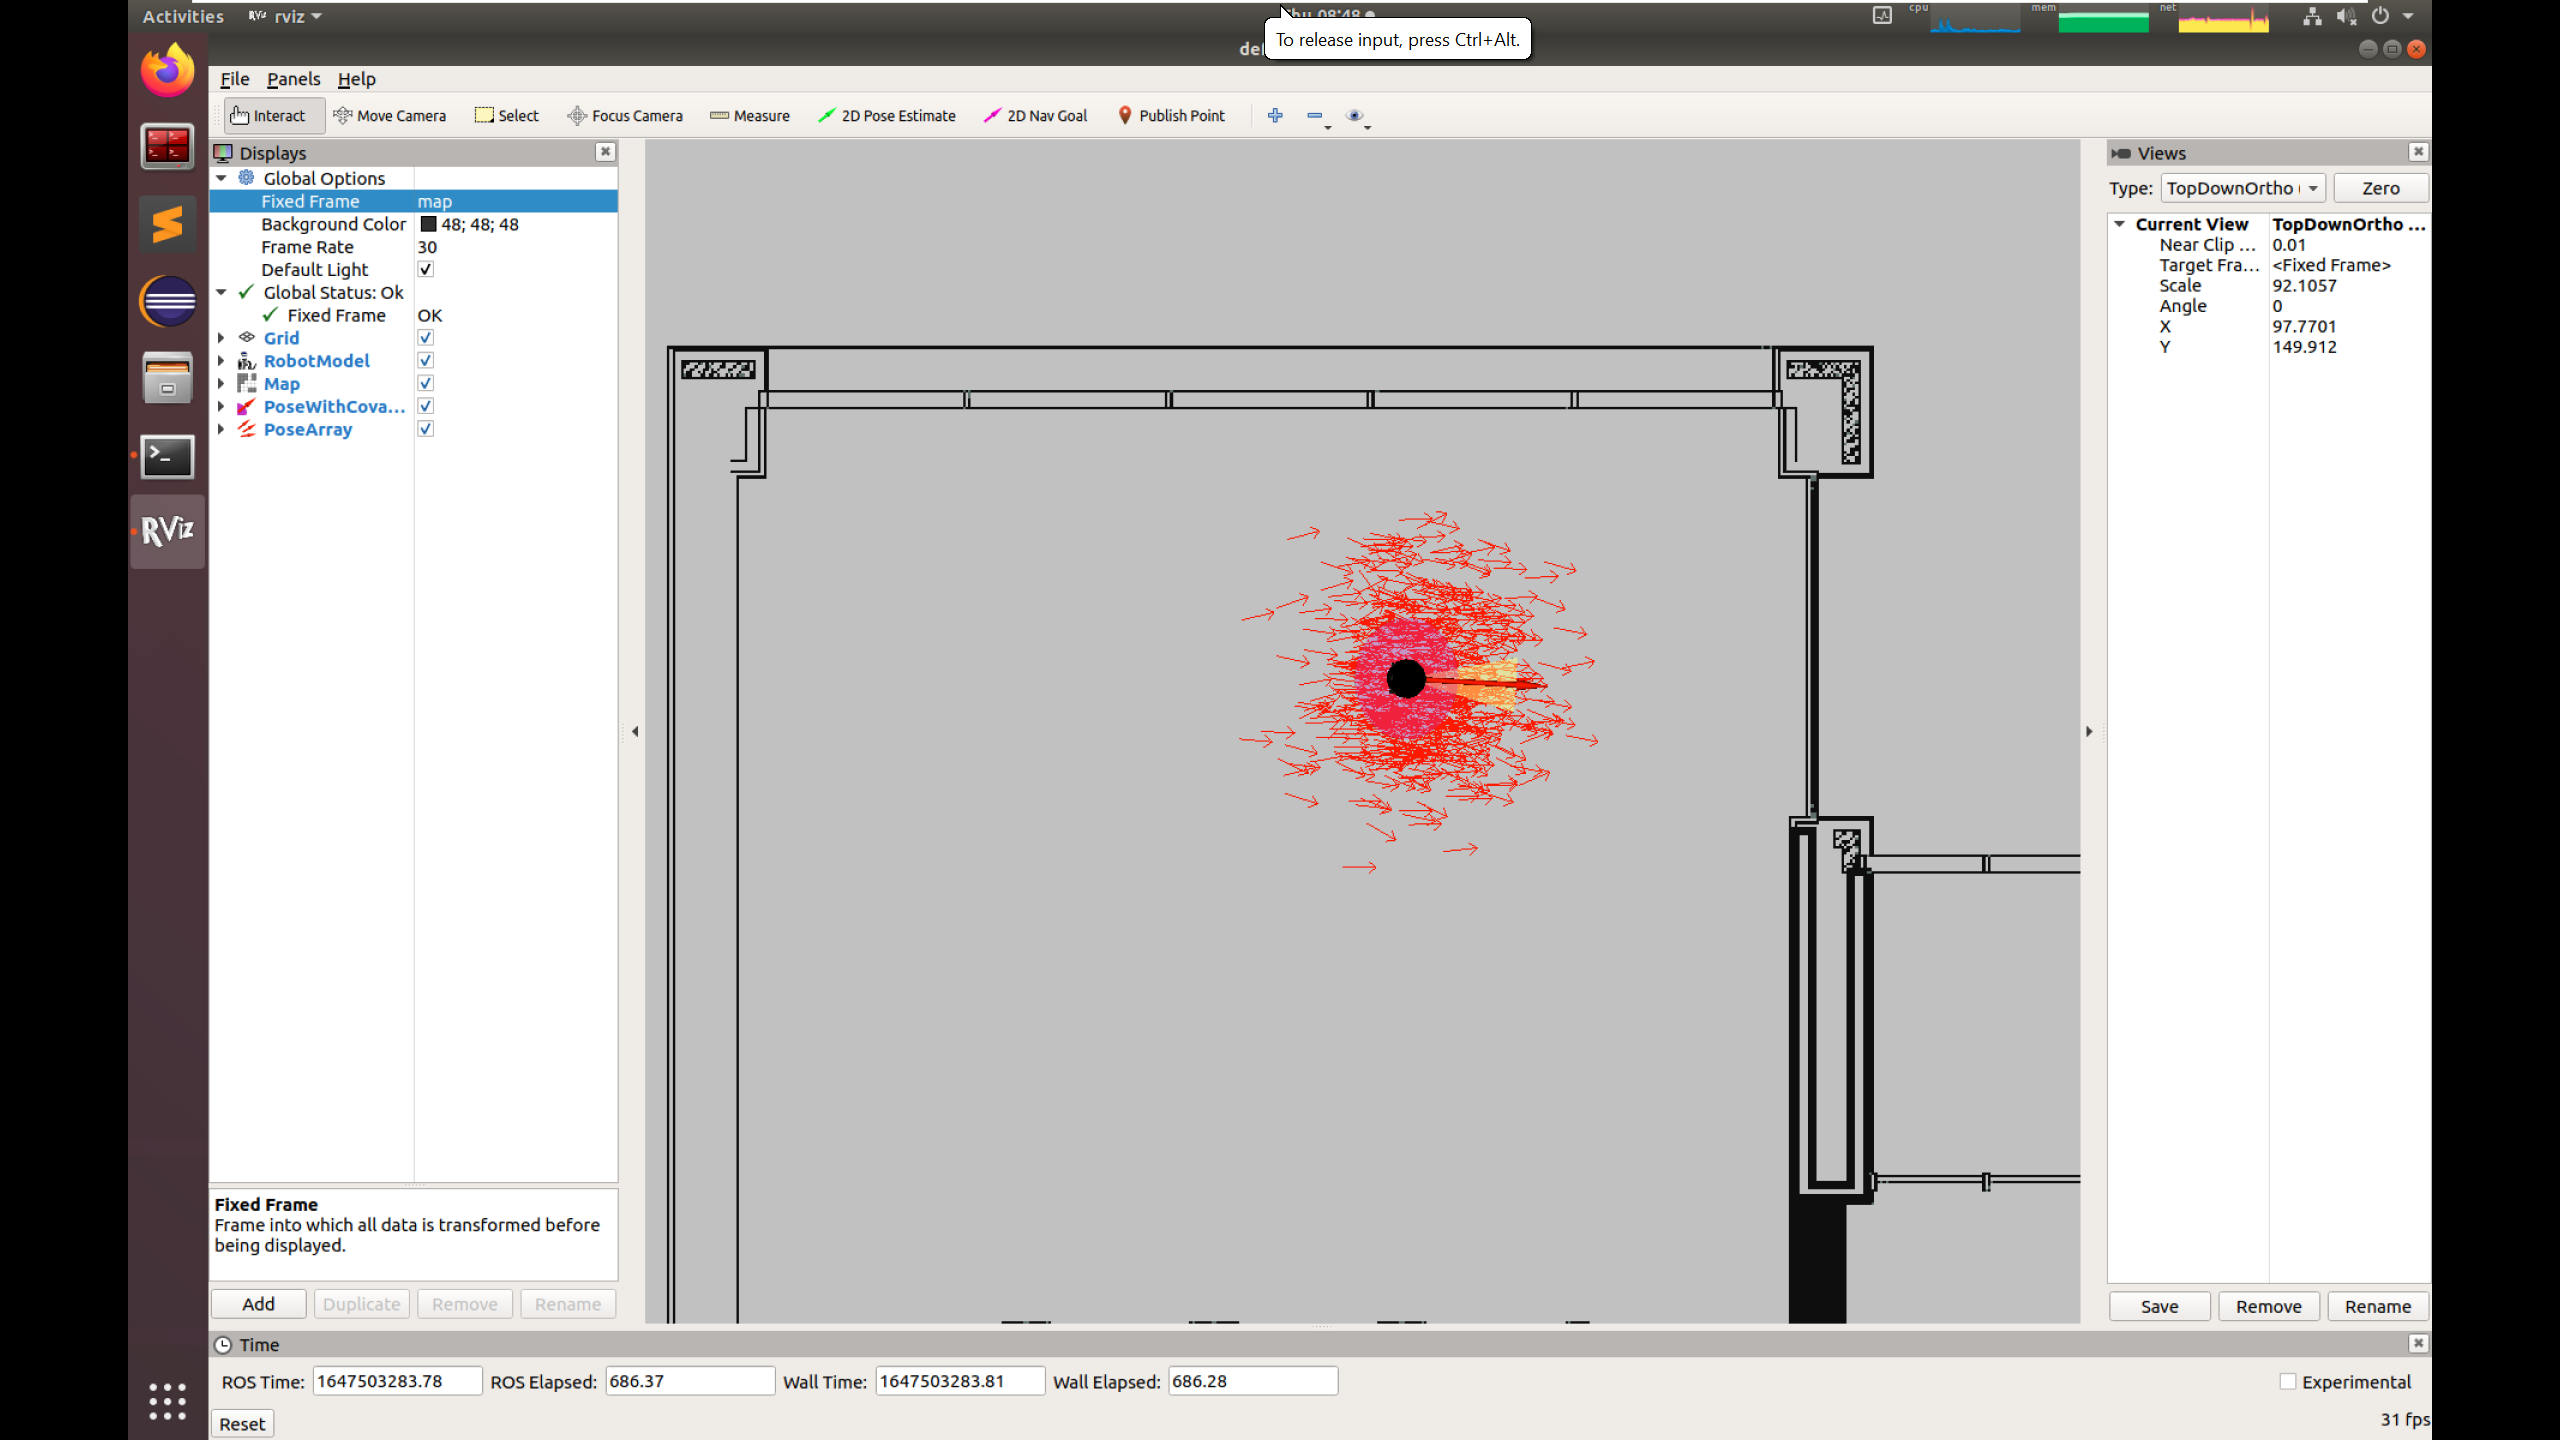
The goal of this class is to run SLAM and AMCL on a simulated turtlebot3 robot. You will build a map of the robot’s environment and then navigate autonomously in this known environment.
By modifying the parameters of these systems, you will be able to analyze how they affect the algorithms.
3. Environment setup
Before you start, prepare the environment: Environment
setup instructions. The image is based on
osrf/ros:jazzy-desktop-full (ROS 2 Jazzy Jalisco) with the
Gazebo Harmonic simulator.
By default the container is named ARM_03.
NOTE! When run, the scripts remove a container with this name before creating a new one.
Using the container
After every computer restart, remember to run:
xhost +local:rootA new terminal can be attached to the container with:
docker exec -it ARM_03 bashROS_DOMAIN_ID
When several computers work in the same local network
(eduroam may require this too), you may need to set the
ROS_DOMAIN_ID environment variable to different values.
Choose any integer from 0 to 100. Set this value in the
~/.bashrc file:
export ROS_DOMAIN_ID=10 # example valueor directly in the terminal (it then applies only to that terminal):
export ROS_DOMAIN_ID=10 # example valueIt is suggested to use the last two digits of the computer’s IP
address as the ROS_DOMAIN_ID value, to avoid conflicts with
other users in the network. To check your IP address, you can use:
ip addr showThe IP address is shown under the network interface,
e.g. wlan0 or eth0.
It may be convenient to add this export to bashrc:
echo 'export ROS_DOMAIN_ID=<chosen_value>' >> ~/.bashrc Gazebo: GZ_IP and GZ_PARTITION
Gazebo communicates independently of ROS 2 (through the
gz-transport library), so ROS_DOMAIN_ID does not
separate simulations. By default, Gazebo connects simulations started by
the same user on computers with the same name (hostname), and a
container started with --network=host takes the computer’s
name and runs as root. If computers in the network have the
same names, simulations of different people can interfere with each
other.
That is why the image sets GZ_IP=127.0.0.1 in the
~/.bashrc file, so Gazebo communicates only within one
computer. In containers created from an older version of the image (the
echo $GZ_IP command prints nothing), add it yourself:
echo 'export GZ_IP=127.0.0.1' >> ~/.bashrcIf several simulations run on one computer (e.g. in several
containers), you can also separate them by setting a different
GZ_PARTITION value in each container (Gazebo nodes only see
each other within the same partition):
echo 'export GZ_PARTITION=<chosen_name>' >> ~/.bashrc # e.g. arm_10The GZ_PARTITION value must be the same in all terminals
where you use Gazebo (starting the simulation, gz
commands), so it is better to set it in ~/.bashrc than in a
single terminal. Changes in ~/.bashrc apply to newly opened
terminals, so restart the simulation after making them.
4. Running SLAM
We will work with the Turtlebot3 robot, so we need to set the model we will use:
export TURTLEBOT3_MODEL=burgerThe available models are burger, waffle and
waffle_pi.
Next, start the world simulation:
ros2 launch turtlebot3_gazebo turtlebot3_world.launch.pyIn a new terminal, start the cartographer node, which is
the SLAM module:
export TURTLEBOT3_MODEL=burger
ros2 launch turtlebot3_cartographer cartographer.launch.py use_sim_time:=True
As you can see in rviz2, the system has started building the map. Since the robot is not moving, it sees its surroundings from a single point all the time, so it lacks the measurements needed to build a complete map. You will have to move the robot around the “world”.
In a separate terminal, start the keyboard teleoperation node:
export TURTLEBOT3_MODEL=burger
ros2 run turtlebot3_teleop teleop_keyboard
Then, using the w, a, s,
d and x keys, drive the robot so that a map of
the whole “world” gets built.
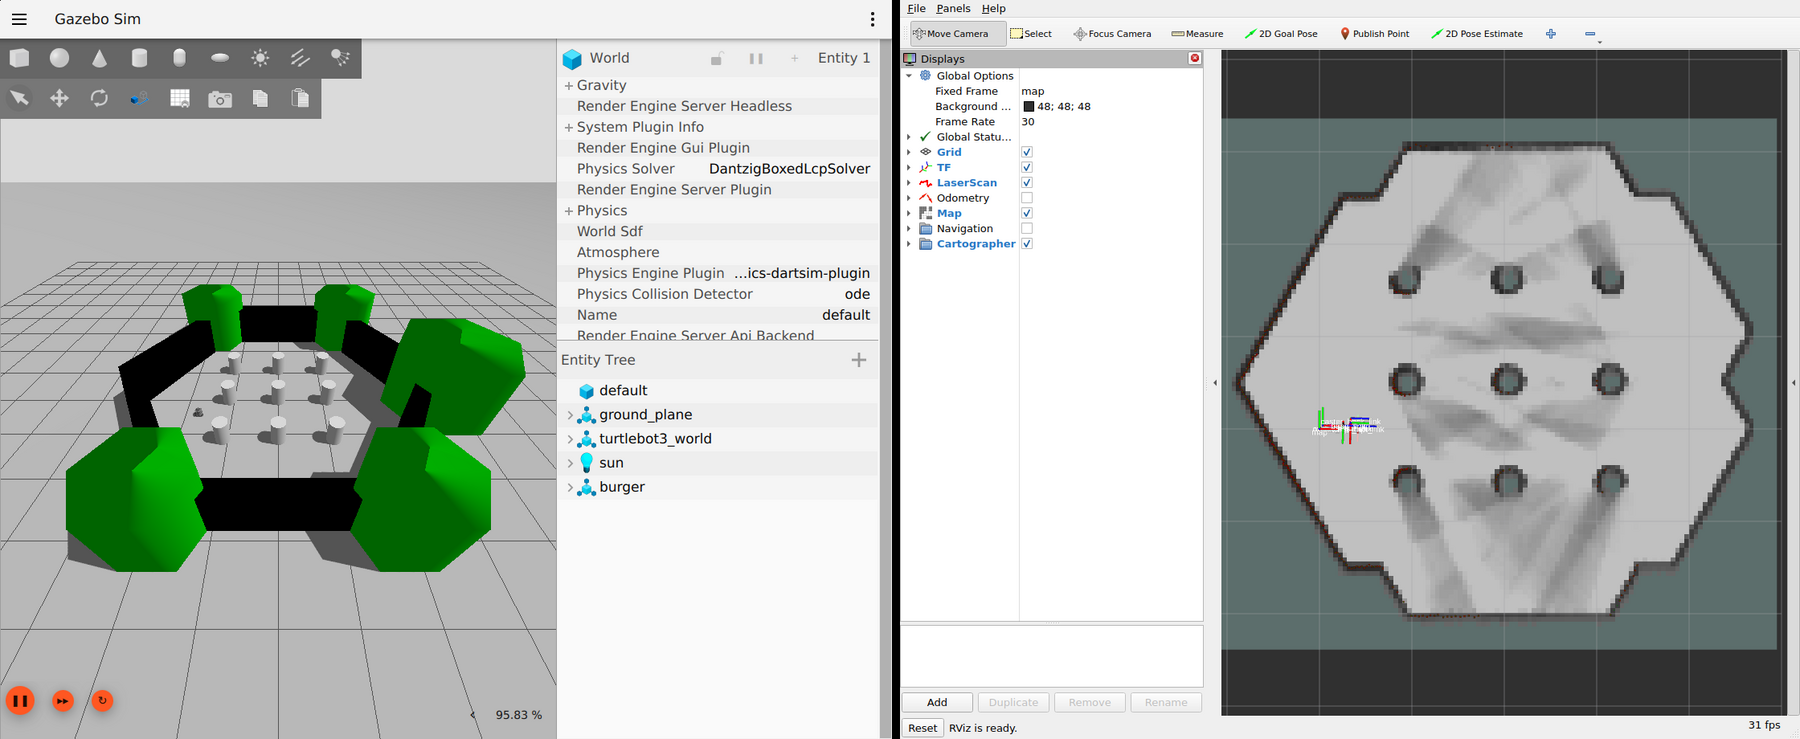
The map can be saved with:
cd /arm_ws
mkdir maps
ros2 run nav2_map_server map_saver_cli -f /arm_ws/maps/turtlebot3_world_map
Once the map is saved, you can close the simulation.
5. Running AMCL
As before, start by launching the simulation:
export TURTLEBOT3_MODEL=burger
ros2 launch turtlebot3_gazebo turtlebot3_world.launch.py
Then you can start the navigation2 node. You need to
tell it to use the simulation time and give it the location of the
previously saved map file. In a new terminal:
export TURTLEBOT3_MODEL=burger
ros2 launch turtlebot3_navigation2 navigation2.launch.py use_sim_time:=True map:=/arm_ws/maps/turtlebot3_world_map.yaml
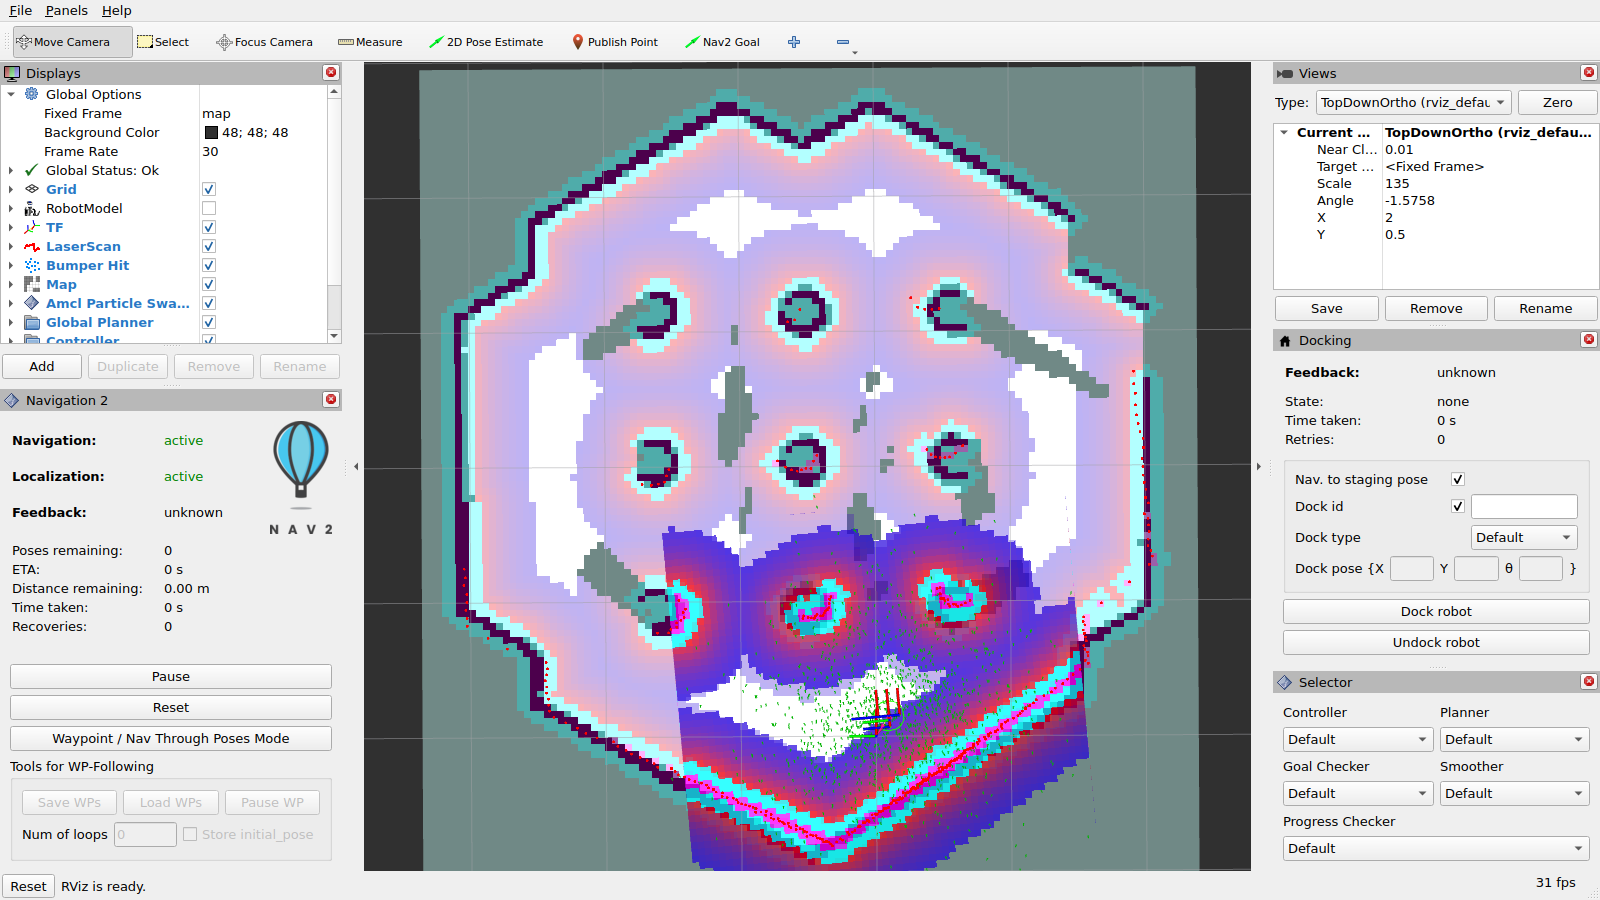
After startup, the robot is not localized on the map. You need to
give an initial estimate of its pose. 1. Click
2D Pose Estimate in the rviz2 window. 2. Click the
place on the map where you judge the robot to be and drag towards its
front. 3. Repeat steps 1 and 2 until the result is satisfactory.
Autonomous navigation
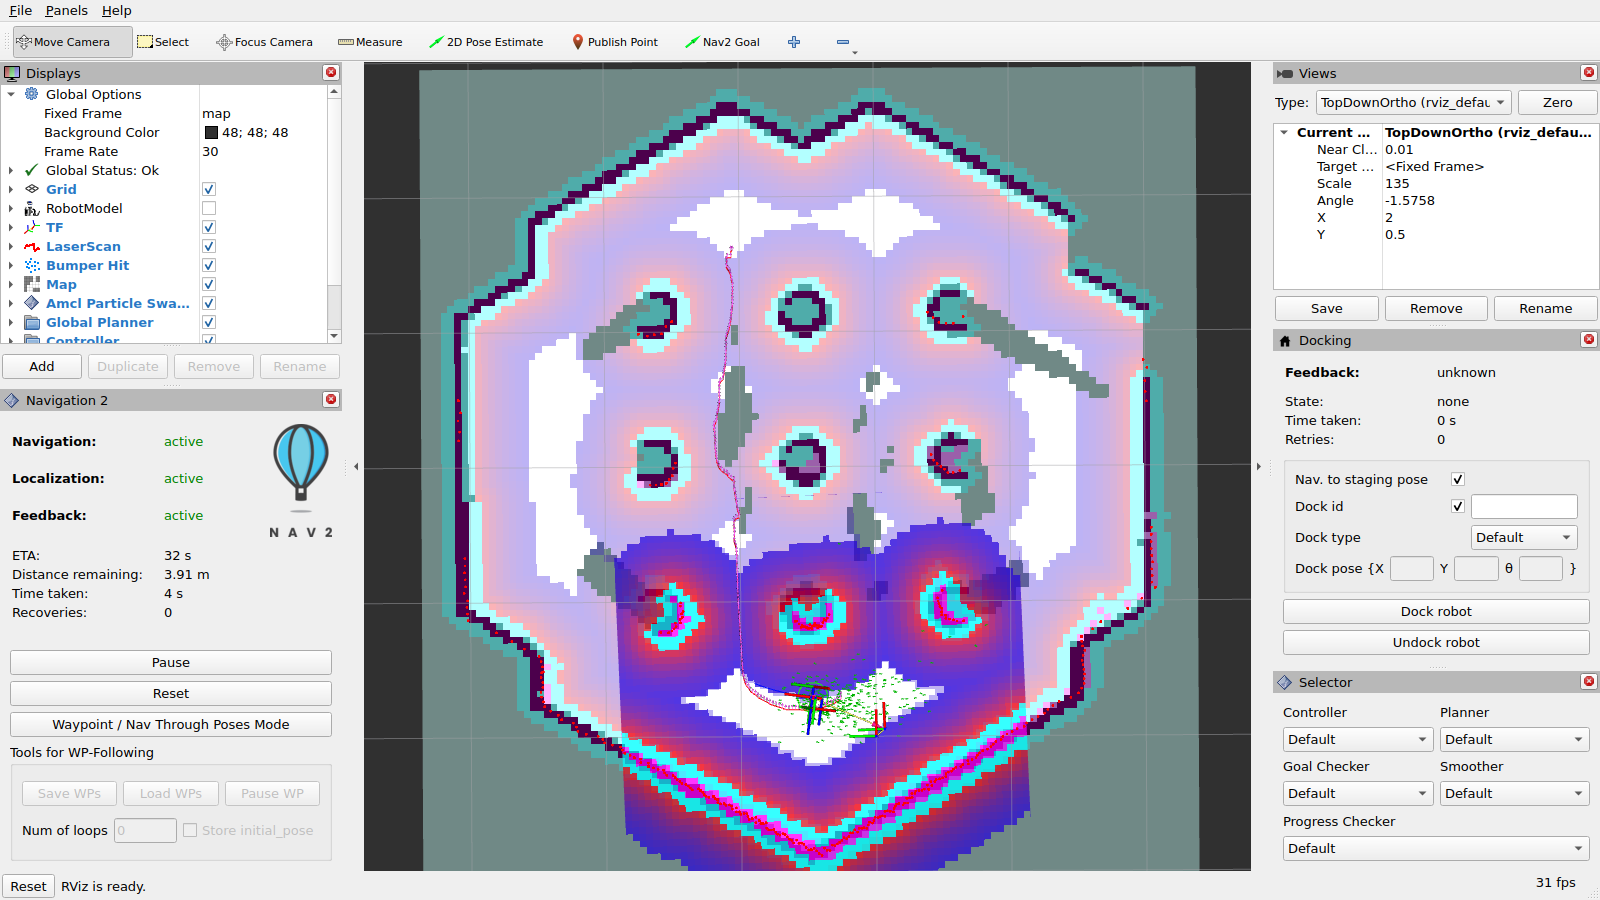
An autonomous navigation task can be started by clicking theNav2 Goal button in the rviz2 menu. As with
2D Pose Estimate, set the arrow to the desired final pose
of the robot.
6. Independent task
As independent work, you need to:
Carry out the procedures from sections 4 and 5 for a different simulation world - “turtlebot3_house”
In the
turtlebot3_navigation2package, theparamfolder contains theburger.yamlfile. Please describe how changing the parameters below affects the AMCL navigation module:beam_skip_distancewithdo_beamskipset toTruelaser_max_rangeandlaser_min_rangemax_beamsmax_particlesresample_intervalupdate_min_aandupdate_min_d
Upload to eKursy: - the saved map (converted to png or as a screenshot) - the answer to point 2 as text on eKursy or as a .txt file.
Author: Kamil Młodzikowski
Based on: Turtlebot3
Simulation docs.