00 - Installing Qt Creator at your home computer
00 - Installing Qt Creator at your home computer
About Qt Creator
Qt Creator (pronounced cute) is a cross-platform (Windows, Linux and OS X) open-source IDE - Integrated Development Environment. It is a graphical editor that can be combined with multiple flavours of compiler and debugger tools in order to create an application/program.
Installation procedure - Windows
Below instruction is intended for Windows running machines, it will guide you to recreate a programming environment used during classes. However Qt Creator can be also used on Linux and OS X machines. In those cases installation process is fairly simple, use Google search you guide yourself.
Download Qt Creator installer using link below:
https://www.qt.io/download-qt-installer
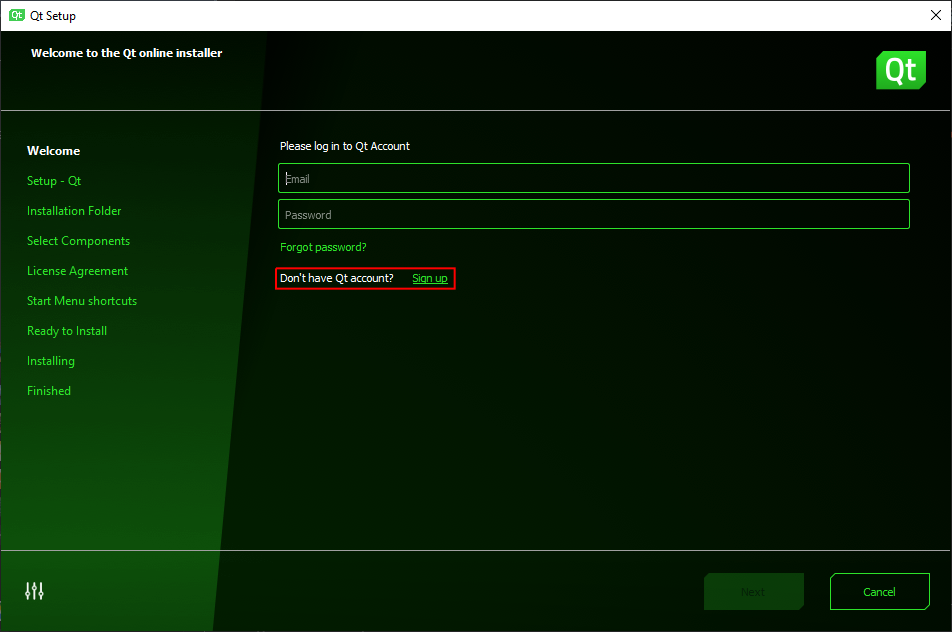
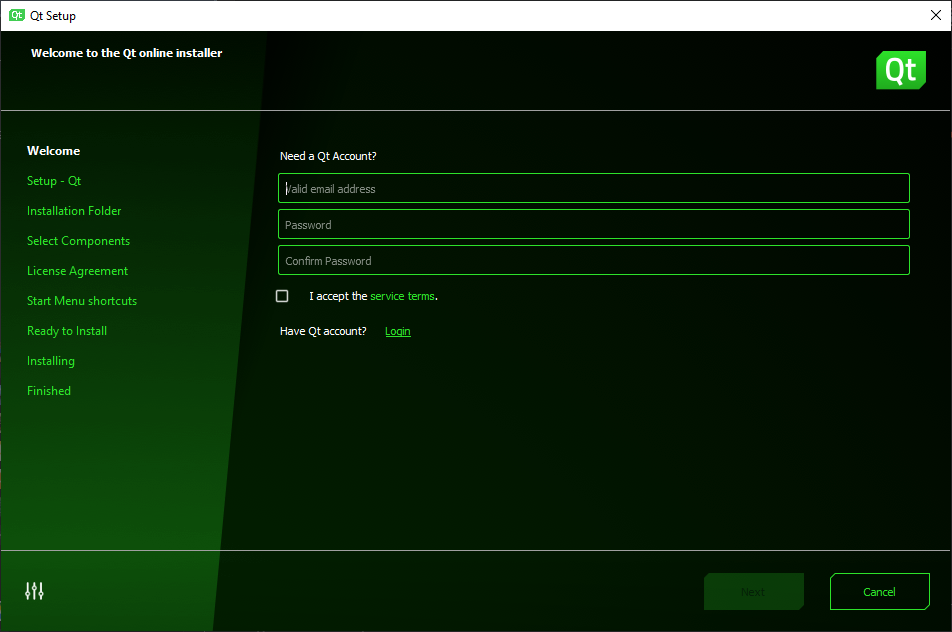
Run downloaded .exe file. A free Qt Account is
required to work with the environment - create an account, log in and go
further.
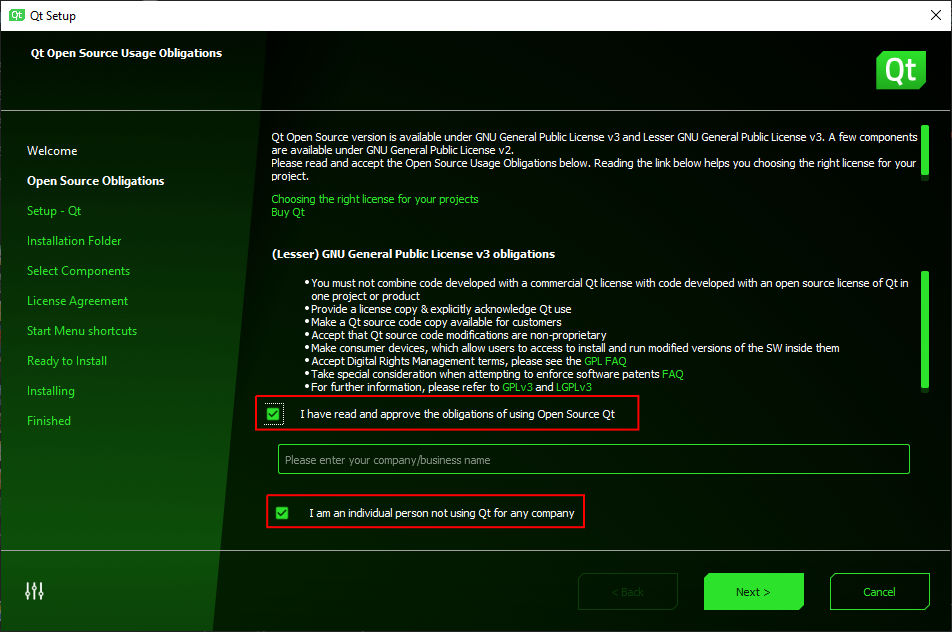
Confirm the terms of use of the program and press Next:
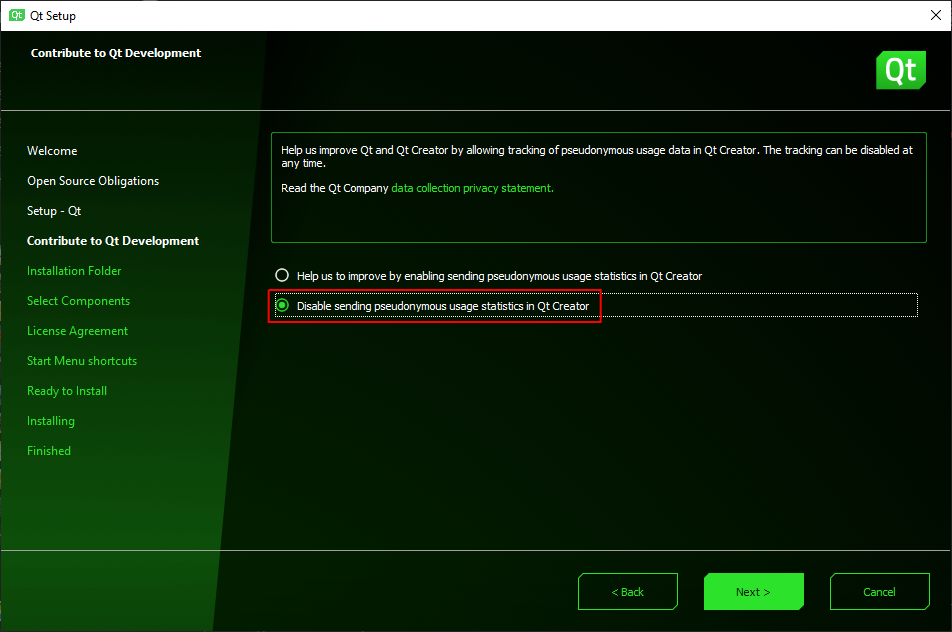
In the next step, you can disable sending optional statistics and press Next:
Then the installer will ask your for the installation path. It is the easiest to leave it as it is, but you can change it. Select Custom installation and press Next:
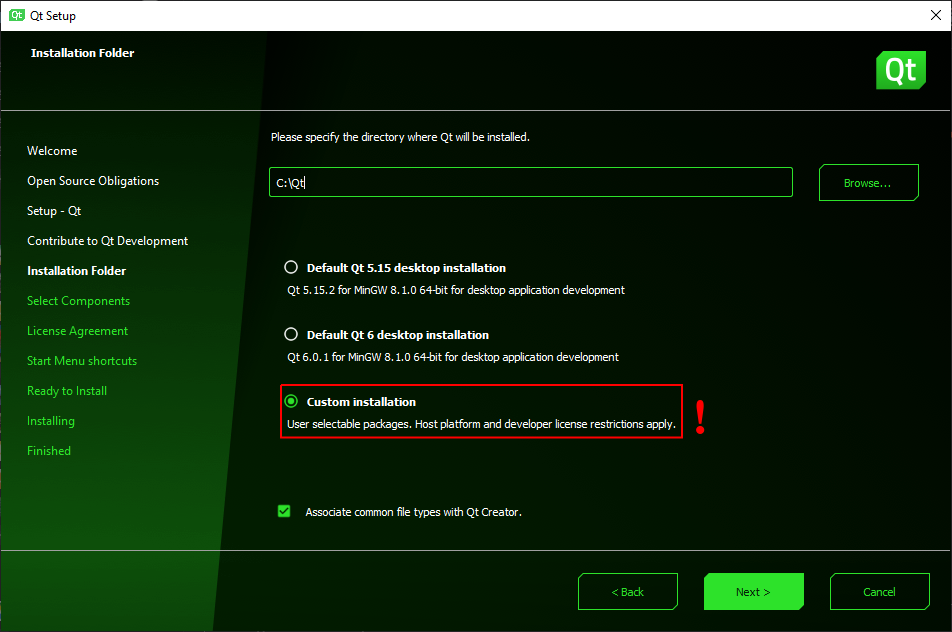
CAUTION, next two steps are very important to be performed correct! Read the instructions carefully.
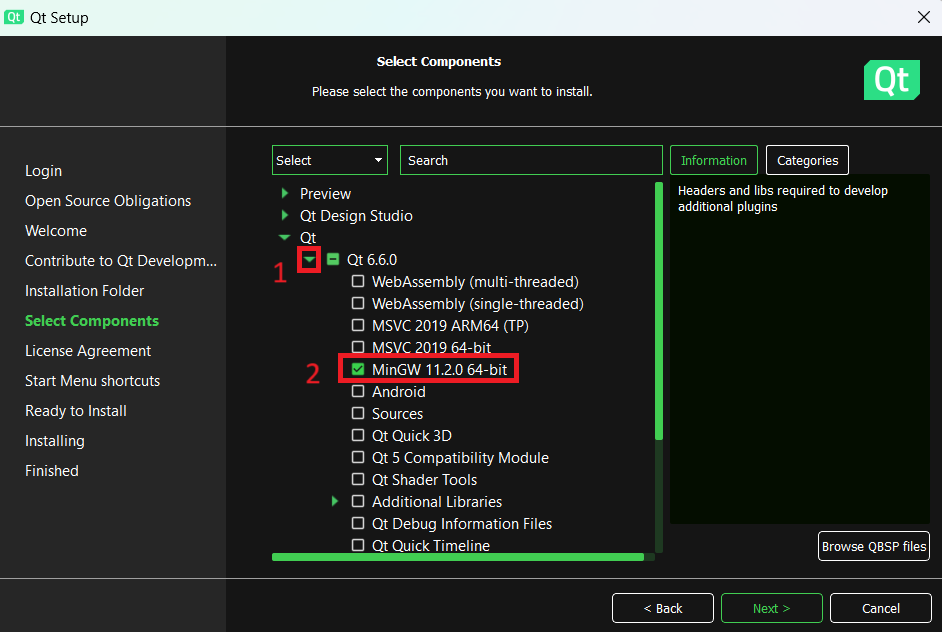
On this step we will be choosing a Qt Framework version. It is a widget library that we will not be using at this stage, however we have to install it in order for Qt Creator compile our programs properly.
From the drop-down Qt list open a drop-down of Qt Framework version (1) - Qt 6.6.0 at the time of writing this tutorial. Then select, by ticking, a compiler (2). Choose the latest MinGW 64-bit version (MinGW 11.2.0 64-bit at the time of writing this tutorial). Be careful! If you are not 100% sure, choose the same options as in this tutorial. Do NOT click Next. Optionally you can uncheck Qt Design Studio above to save a disk space.
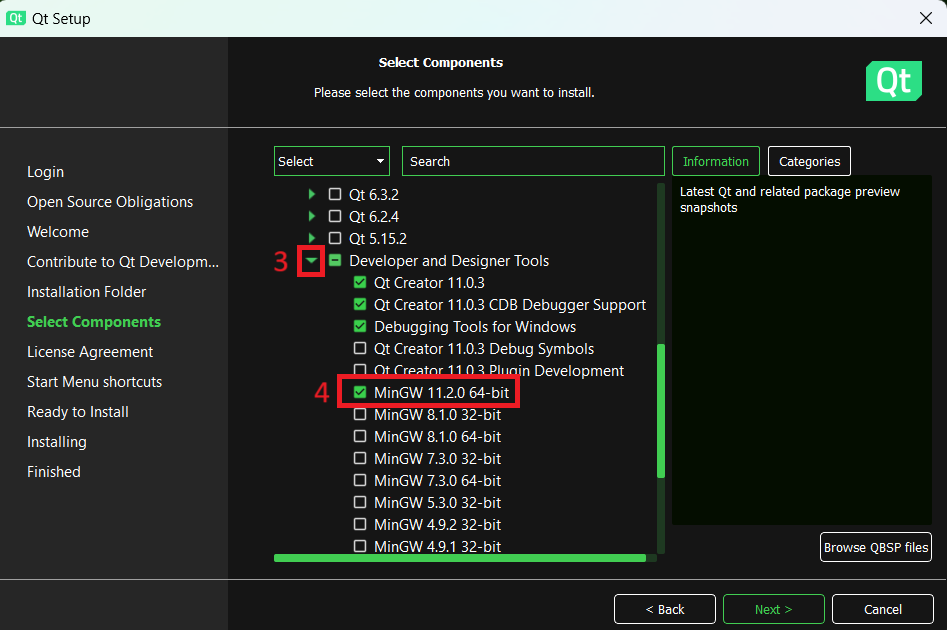
Scroll down and open Developer and Designer Tools drop-down list (3). Then select, by ticking, the same MinGW 64-bit compiler as in the step above (4) (MinGW 11.2.0 64-bit at the time of writing this tutorial). Click Next:
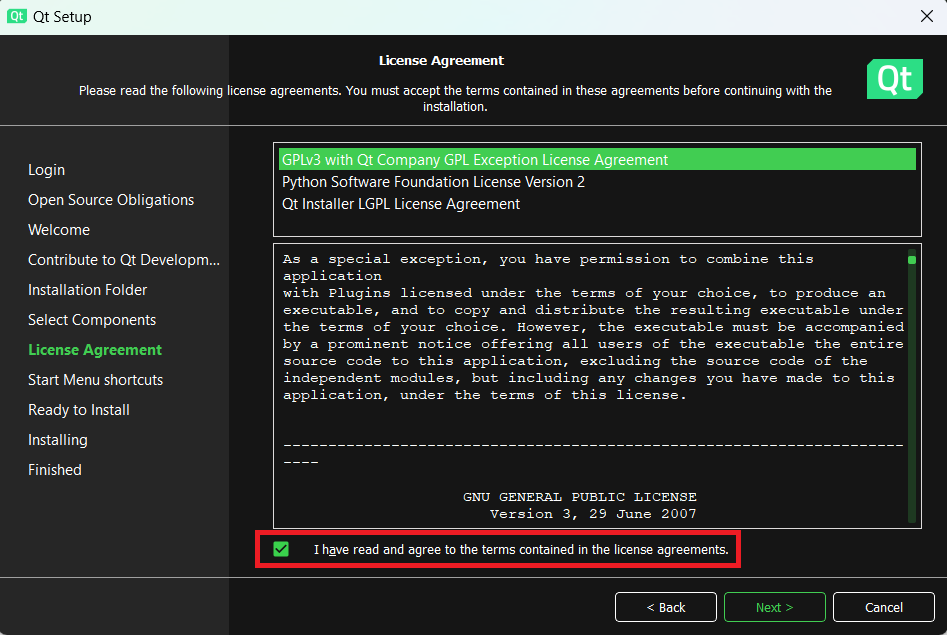
Accept the license and hit Next:
Installer will ask for the Start Menu group. Leave it as it is, hit Next:
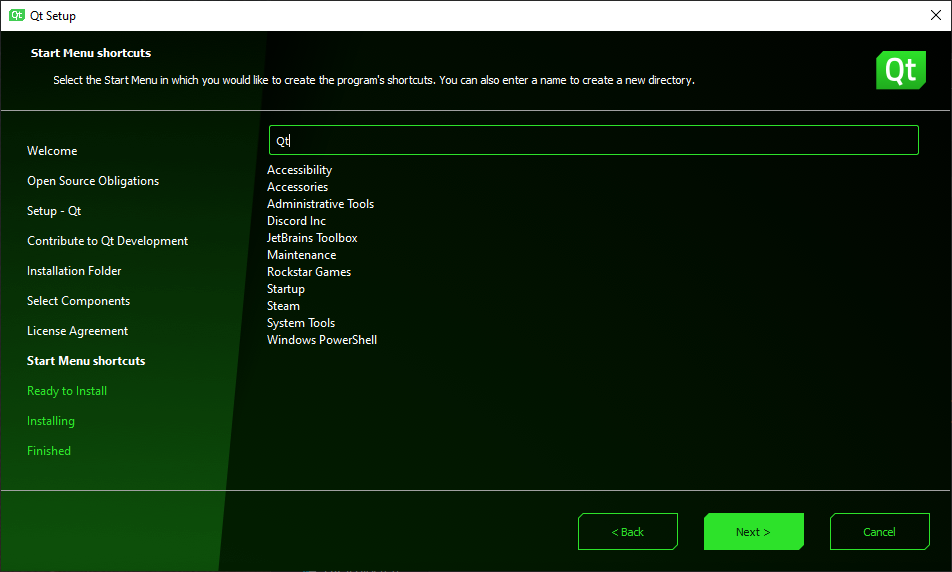
Qt Creator is now ready to install. Click Install:
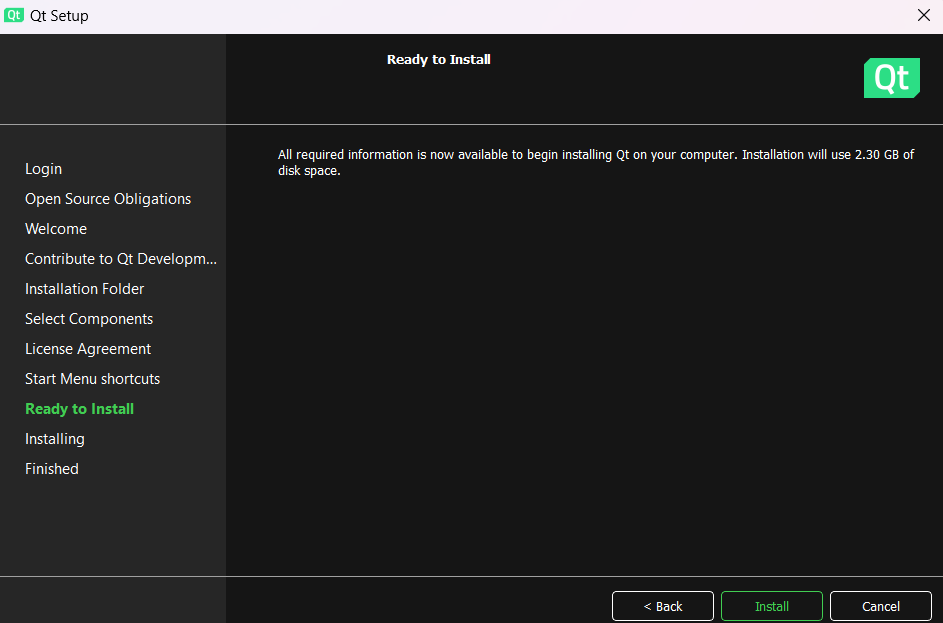
Wait for the installation process to finish. After that, you can start the environment.
On first run Qt Creator will ask you to participate in User Interface Tour. You can skip it. Make sure that Do not ask again is ticked and click Cancel:

Happy coding!
Authors: Tomasz Mańkowski, Dominik Pieczyński