Version control system - Git
Version control system - Git
Introduction to version control
A version control system is used to track changes made to a file (or files) and allows you to revert to any previous state. It is a commonly used tool in software projects although embracing version control is possible for any type of file on a computer.
If you are interested in graphics or web design and want to maintain every version of a graphic file or web site layout (which seems like a reasonable idea), then using a version control system is the right tool for the job. It allows you to:
- restore a file (or files) to an earlier version,
- restoring the state of the entire project,
- comparing the changes made (even when one file was edited by many people),
- obtaining information about who made a given modification and when.
The most widely distributed version control system is
Git and the projects created within it are
repositories. The popular site GitHub provides network
hosting for Git repositories.
An interactive introduction to Git

To get started with Git take a look at the interactive
tutorial available at learngitbranching. It
describes the most important concepts, which are presented in an
intuitive, graphical form.
🛠🔥 Task 1 🛠🔥.
Solve the first four tasks from the Main: Introduction Sequence from learngitbranching:
- Introduction to Git Commits
- Branching in Git
- Merging in Git
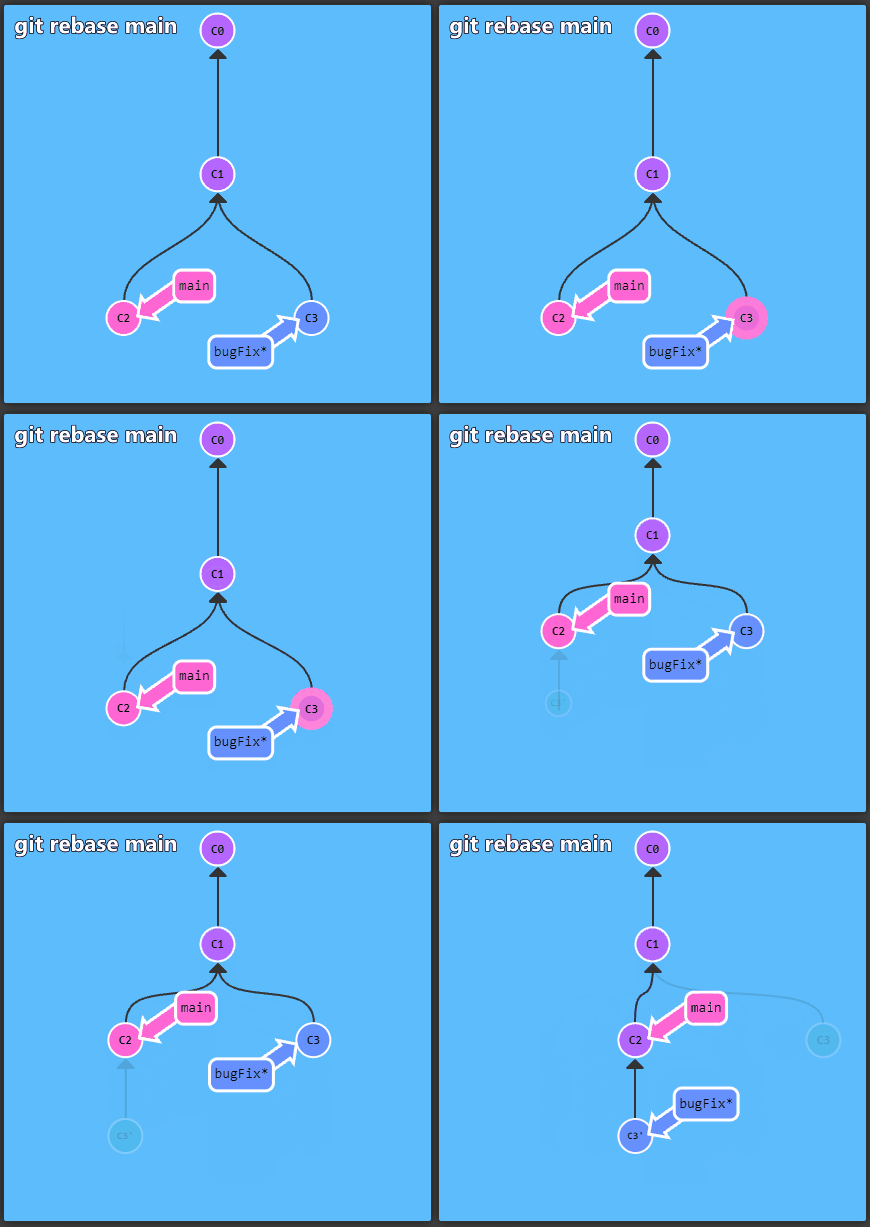
- Rebase Introduction
and the following seven from Push & Pull – Git Remotes:
- Clone Intro
- Remote Branches
- Git Fetchin’
- Git Pullin’
- Faking Teamwork
- Git Pushin’
- Locked Main
Hands-on Git exercises
🛠🔥 Task 2 🛠🔥.
Create an account at GitHub. Try to use a
reasonable username, as repositories are often a sort of portfolio for
future employers. Decide to post the code you create to Git
repositories today - over time, the use of version control will become a
good habit and you will already have some history of “coding”.
🛠🔥 Task 3 🛠🔥
Create a new repository using GitHub with a name such as
hello-git. Fill in the description field (e.g. Example
repository for learning how to use git), indicate your desire to create
a README file and select license for your project
(e.g. MIT).
🛠🔥 Task 4 🛠🔥.
Open a command terminal and configure the Git settings
for your user:
git config --global user.name "Git user name"
git config --global user.email "Git user's email address".
Print the saved settings using the command:
git config -l🛠🔥 Task 5 🛠🔥.
Clone the created repository from github to your
computer with the command git clone address.
🛠🔥 Task 6 🛠🔥.
Create any text file and upload it to your Git
repository. Use the following commands in the following order:
| Command | Function |
|---|---|
git status (Optional) |
Displays current status of the repository that was downloaded. |
git add -A |
The git add command allows you to split the changes
made into different commits, while the -A argument causes
all changes to be included at once. Note that the interactive
introduction you solved omitted this command (it assumed committing all
changes at once). |
git commit -m "Brief description of changes made" |
Adds the changes made to the repository history. |
git push |
Causes the remote repository to be updated with local changes. |
Pushing to the remote repository will request for a password. Here you need to use personal access token instead of github password. There is an instruction how to create a personal access token.
After pushing the changes, watch the effect on Github,
take a look at the repository user interface.
🛠🔥 Task 7 🛠🔥.
Code containing information about the author, dependencies in the
project, installation and running instructions is simpler to use. Such
information is usually placed in the README.md file. The
language we use to create such files is Markdown. Using syntax
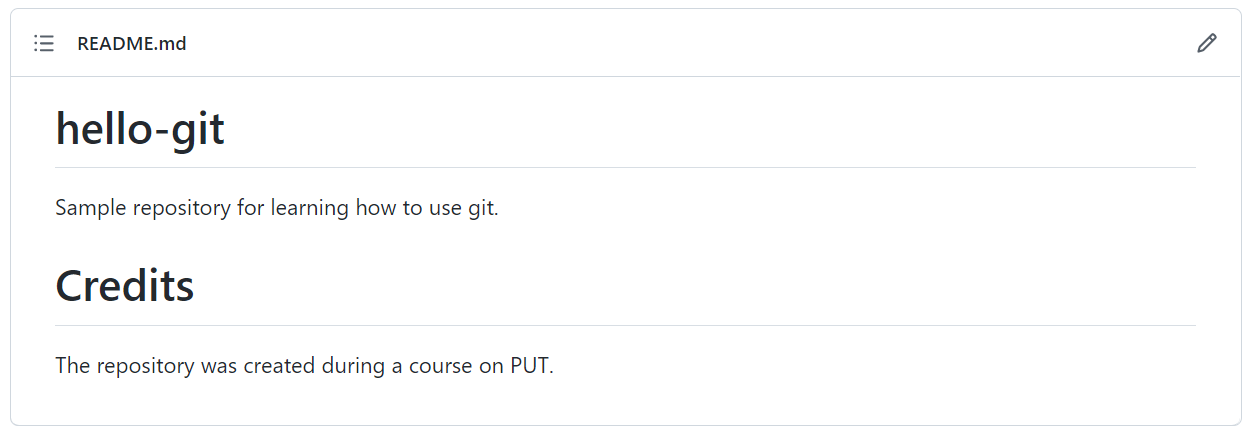
information try to edit the README.md file to achieve
the result listed below. Use the browser-based editor at
Github to do this. 
🛠🔥 Task 8 🛠🔥
Call the cat command on the local README.md
file to display its contents. Why doesn’t the file contain the changes
you made? Update the local version of the repository using the
git pull command.
🛠🔥 Task 9 🛠🔥
The projects you will be involved in in the future will most likely be team-based. Many repositories are also open-source, meaning you can influence the code in them. In this task, we will propose a change to the teachers’s repository:
- Open the indicated repository in a browser.
- Go to the
Issuestab and add them in the following format:
username:
GitHubUsername
The teacher will add you as a co-developer of the project.
- Clone the repository to your computer.
(
git clone address_www). - Create your own branch in the repository by naming it with your
username. (
git branch name_of_the_branch). Note: You can execute command 4 and 5 with one command by adding an argument (git checkout -b name_of_the_branch). - Change the current branch to the newly created one
(
git checkout name_of_the_branch). - Create a new directory (name it with your username), and in this
directory create a text file (name it with your initials
.txt) and paste the sample text into it (United we stand, divided we fall!). Create a commit including the changes. - Push the branch to the server.
(
git push -u origin name_of_the_branch). The-uargument causes changes to the newly created local branch to be tracked against changes to the remote repository. - Using the
Githubuser interface, create a pull request of the created branch to the master branch.
🛠🔥 Homework 🛠🔥
Find an answer to the question - what is the purpose of the
.gitignore file?